User
How to create a user
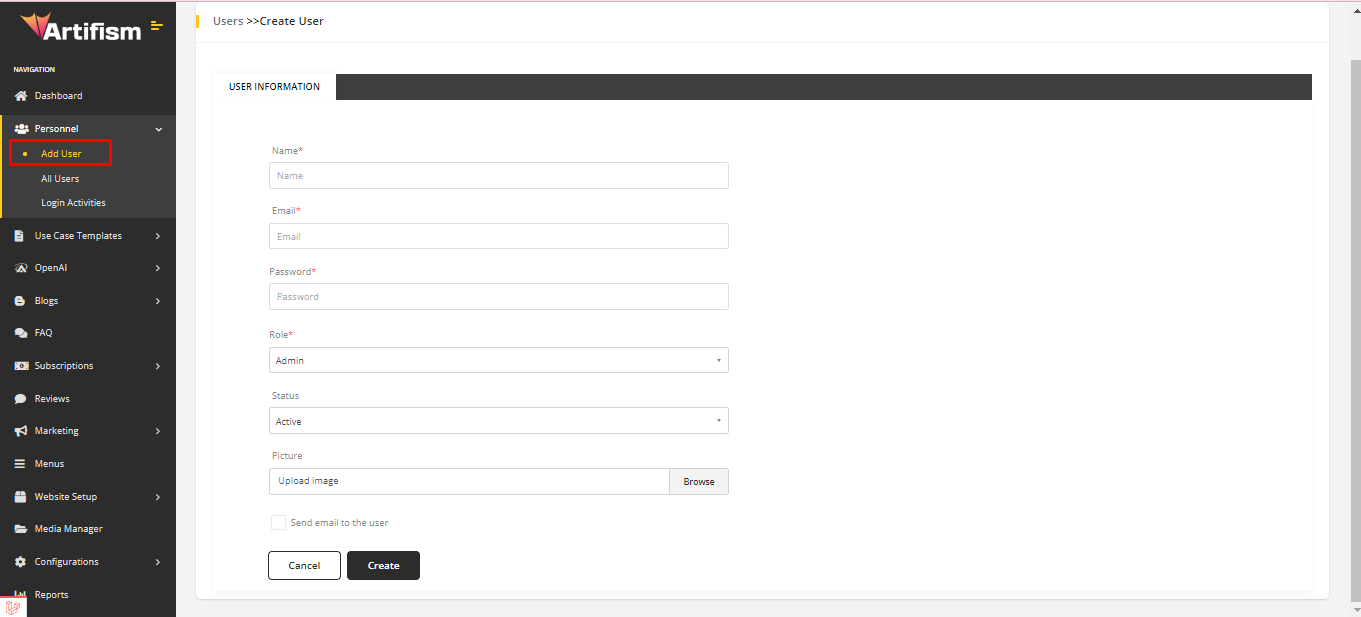
First, go to the Personnel ⇒ Add User from the sidebar. A form will appear on the page. Fill the form with valid information, select the role, status, upload image, click on the create button, and it will create a new user
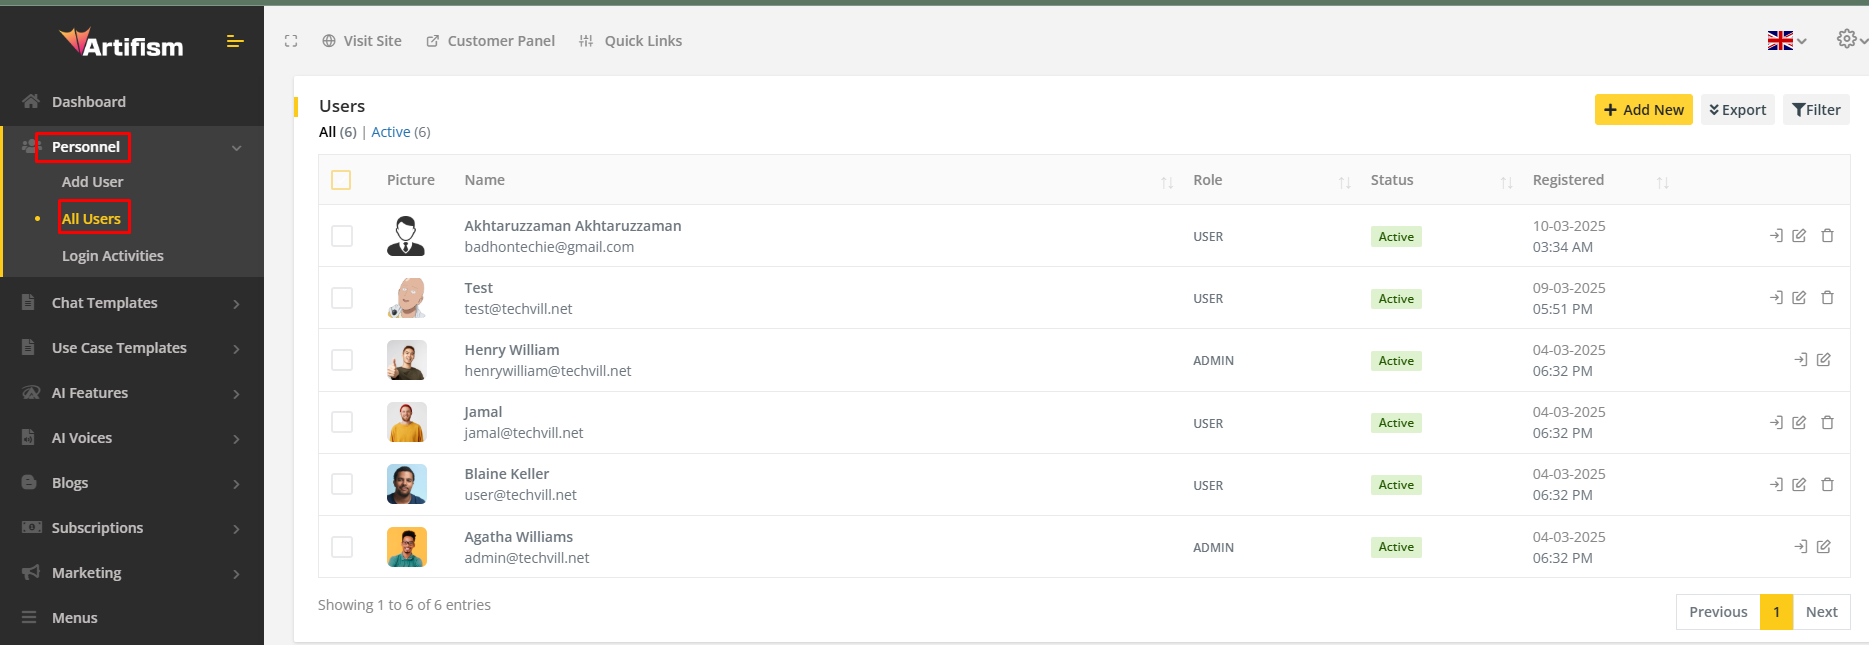
After creating a user, then it will redirect to the all user list page. An existing user list will appear.

A user also sees the user list, from the sidebar. To view all user lists, go to Personnel ⇒ All Users from the sidebar. An existing user list will appear.
Operations of user list
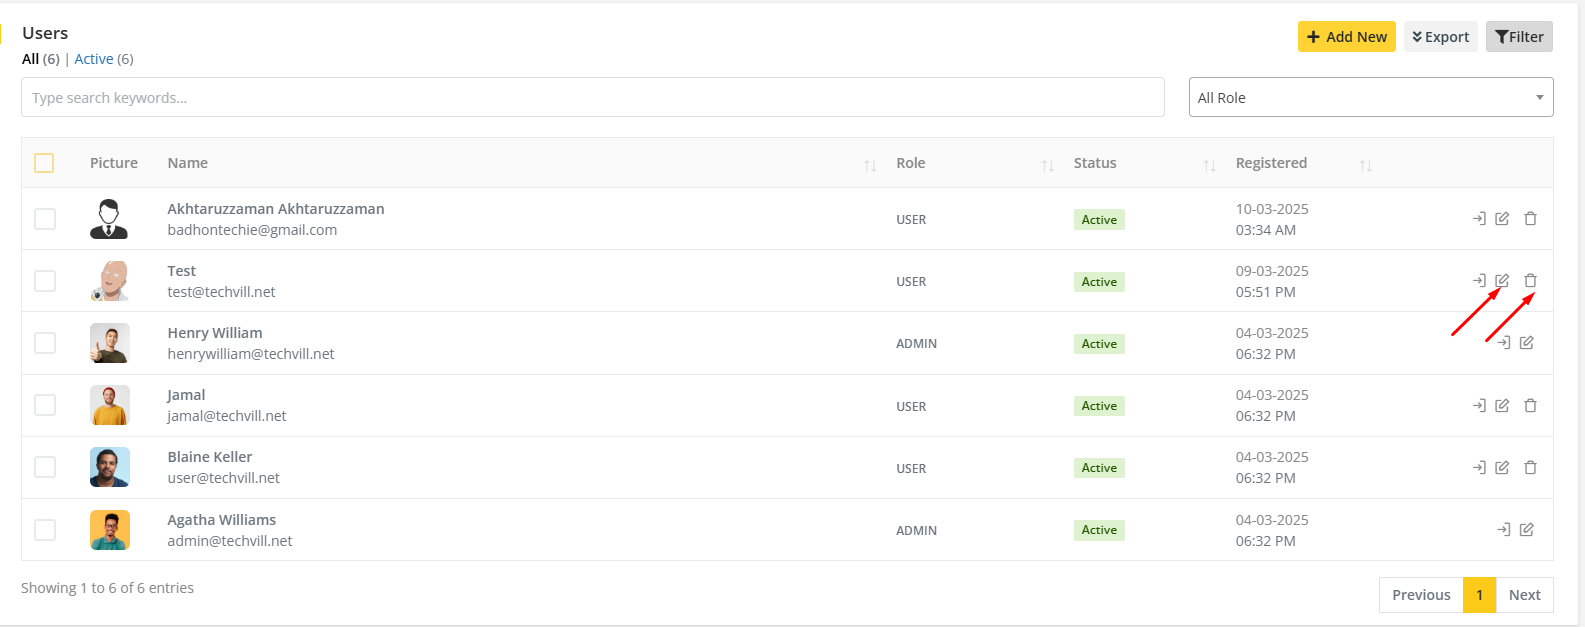
Information can be edited and users can be deleted from the All Users list. Admin can also filter the user list using keywords and roles. The admin can also export the user list in CSV and PDF format as well. Furthermore, the admin can even login as a specif user from the user list.
From All users list page, users can also create new users by using Add User Button.

Note
- Checking
Send email to the usercheckbox withpendingstatus will send an account verification email to the customer. - Checking
Send email to the usercheckbox withactive* status will send an account activation email to the customer. - No email will be sent to the user if
Send email to the useris not checked. - If a new role is added from
Configurations ⇒ Accounts ⇒ Rolesthen the new role will automatically appear in the role dropdown option.
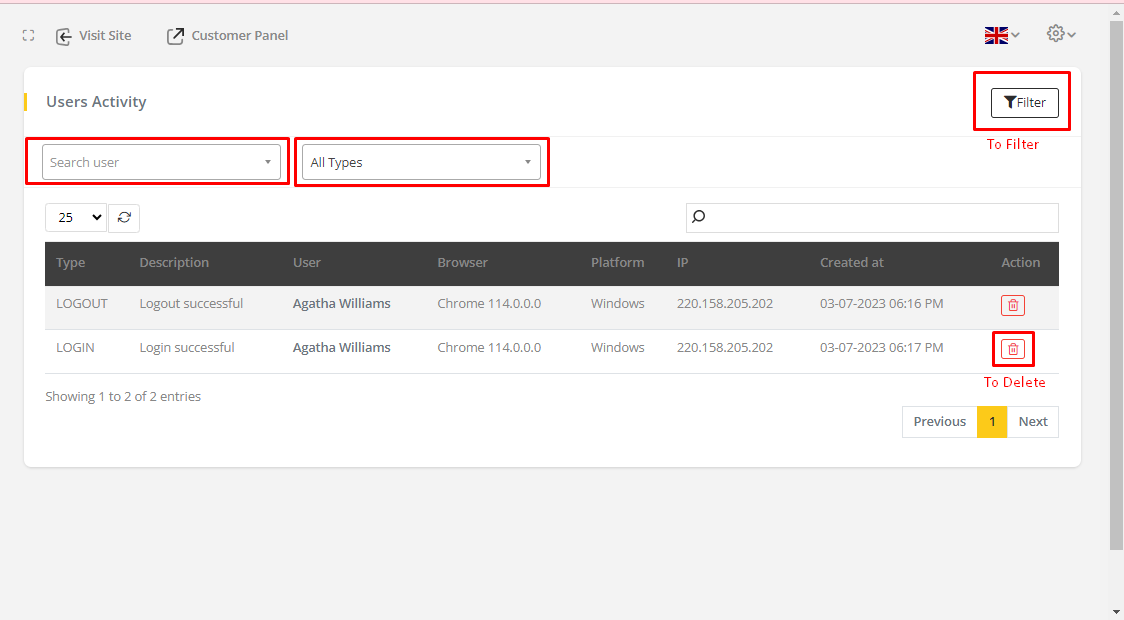
Login Activities
To view login Activities, go to Personnel ⇒ Login Activities from the sidebar. An existing login activities list will appear.
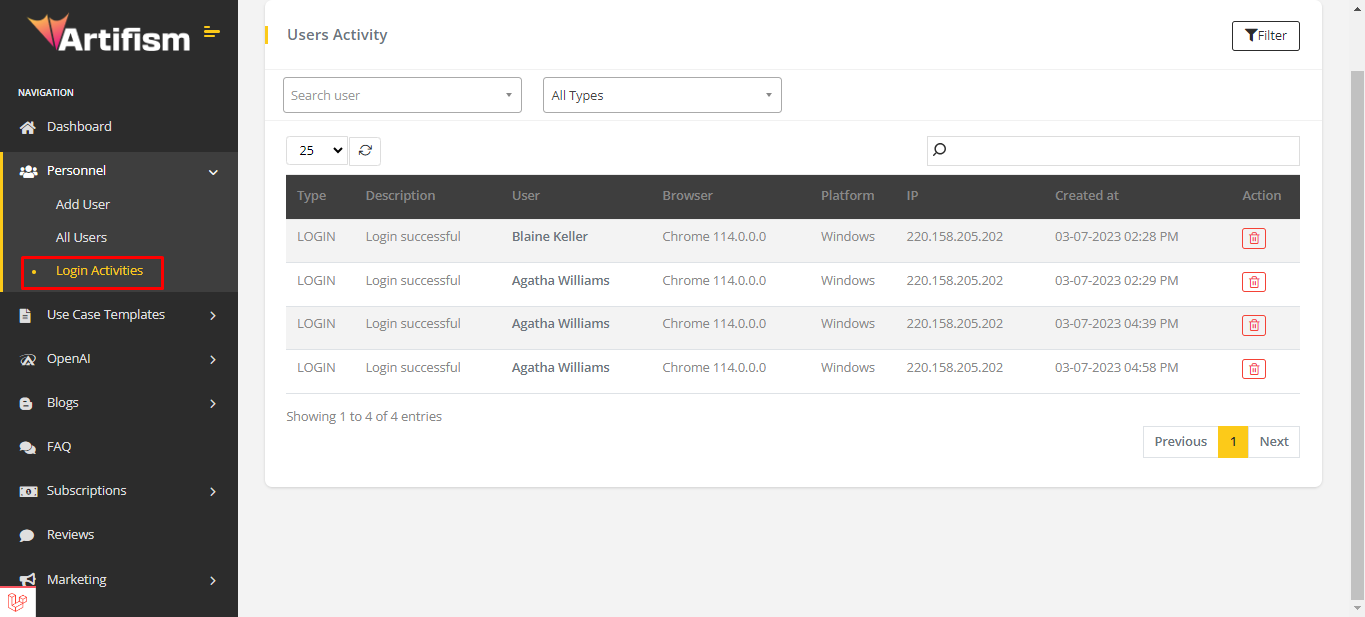
Here, the admin can delete the login activities from the list. And also, clicking filter icon, search through keywords and all types filter will appear by which users can be searched by user and types.