Artifism Customer Mobile Apk Setup and Build
Setup, Build, and APK Creation for Artifism Customer Mobile App (Android)
Follow these steps to set up, build, and create an APK for the Artifism Customer Mobile App.
1. Extracting the Source Code
Extract the sourcecode_v2_*_*.zip file to begin.
2. Customizing App Information
- Change App Name: Navigate to:
projectName\android\app\src\main\res\values\strings.xml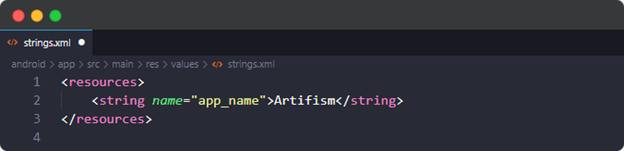
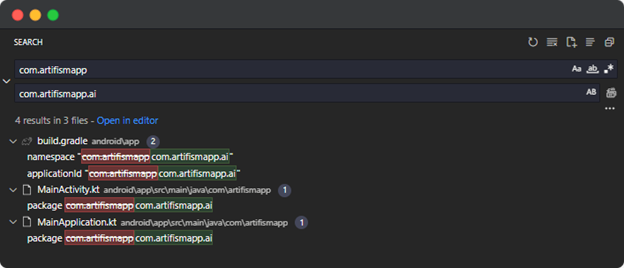
- Change Application ID: Search for "com.artifismapp" in any code editor and replace it with your desired Application ID.
-
Change App Version: Go to:
projectFolder\android\app\build.gradle.Modify:
versionName = "2.0.0"versionCode = 2 (Ensure versionCode is a number).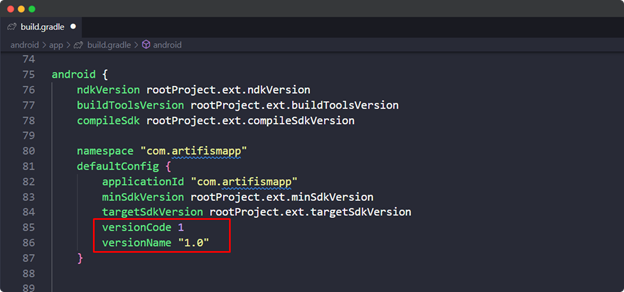
3. Configuring the Environment
-
Open the
.envfile in the project root folder.Set the base URL:
BASE_API_URL= https://www.example.com/api

4. Customizing App Icon
- Prepare Icon: Create a 1024x1024 PNG icon.
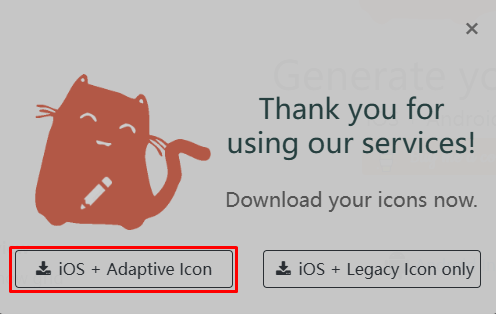
- Generate Icons: Go to (Easy App Icon) then upload your resized image & download the file (Make sure to download “IOS + Adaptive Icon”)
- Extract the downloaded zip file
- Copy
mipmap-**dpifiles under the android folder from the extracted folder.
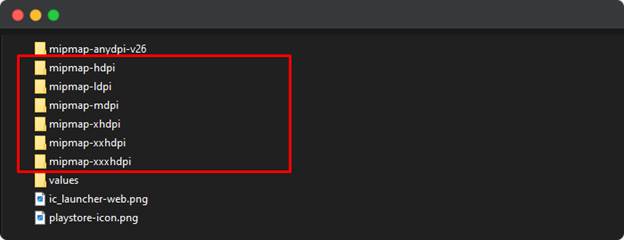
- Replace the files in:
projectName\android\app\src\main\res.
5. Customizing Splash Screen
- Prepare Splash Icon: Create a 240x240 PNG icon.
- Generate Splash Screen Assets: Use (App Icon Generator) then upload your resized
- Extract the downloaded zip file
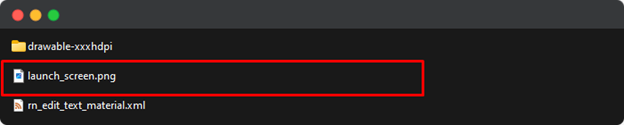
- Rename the file to
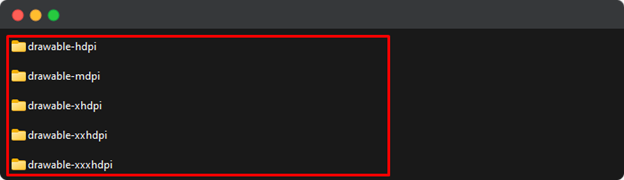
launch_screen.png. - Replace the
drawable-**dpifiles in:projectName\android\app\src\main\res\drawable.
- Replace the
launch_screen.png.to:“drawable-xxxhdpi\launch_screen.png”file
6. Setting Up Your App Logo
Replace the existing logo file with your logo:
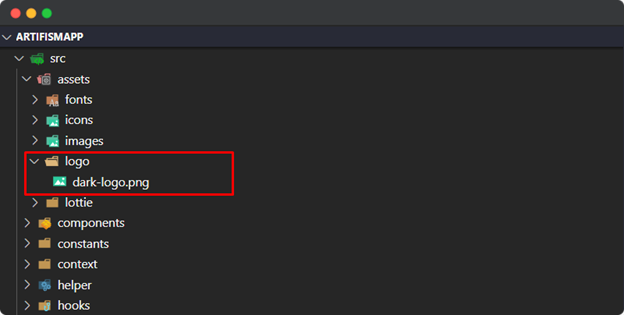
- Prepare your logo file. ( Recommended Dimension:
119px * 32px, Recommended File Type:png) - Navigate to:
projectName\src\assets\logo. - Replace the file named
dark-logo.pngwith your logo, ensuring it has the same name (dark-logo.png).
7. Development Environment Setup
-
Requirements:
- Install Node.js (Version 18 or higher).
- Install Yarn (optional).
- Set up JDK and React Native CLI.
-
Guidelines:
8. Install Dependencies:
npm install
// or
yarn install
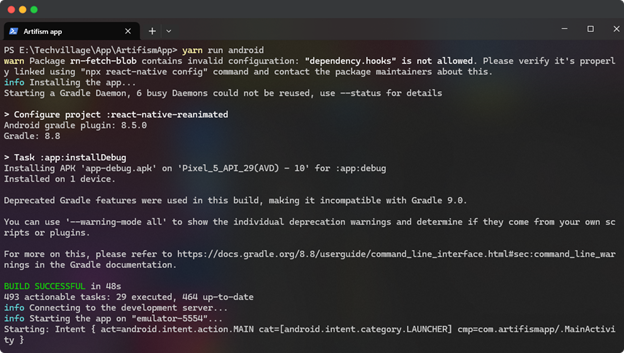
9. Running the Application
npm run android
// or
yarn run android
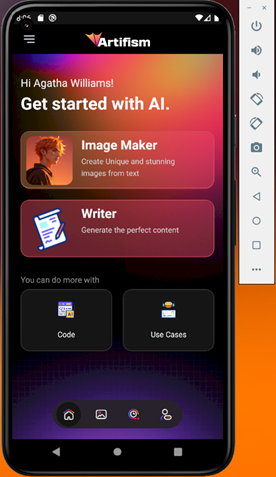
After the build is successful the app runs in your Android simulator.
10. Generating a Debug APK
Open the terminal on the project root & run the following command lines one by one:
yarn prebuild
cd android
./gradlew assembleDebug
- Find the APK at:
\android\app\build\outputs\apk\debug\app-debug.apk.
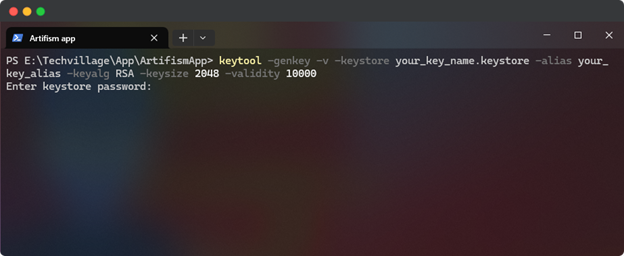
11. Generating a Keystore before creating a release APK or AAB
You will need a Java-generated signing key, a keystore file used to generate a React Native executable binary for Android. You can create one using the keytool in the terminal with the following command
Command:
keytool -genkey -v -keystore your_key_name.keystore -alias your_key_alias -keyalg RSA -keysize 2048 -validity 10000
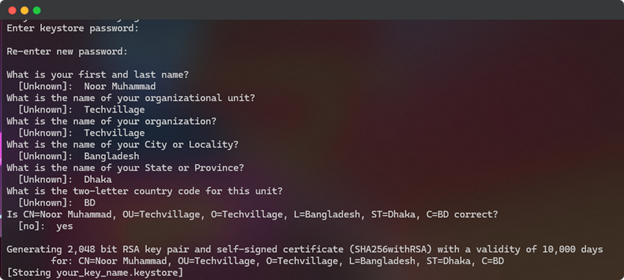
- Follow the prompts to set passwords and provide additional details. (Make sure you remember the password)
- Place the
keystore.keystorefile in:\android\app.
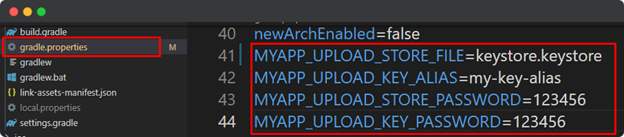
Add the following to gradle.properties:
MYAPP_UPLOAD_STORE_FILE=keystore.keystore
MYAPP_UPLOAD_STORE_PASSWORD=****
MYAPP_UPLOAD_KEY_PASSWORD=****
MYAPP_UPLOAD_KEY_ALIAS=my-key-alias
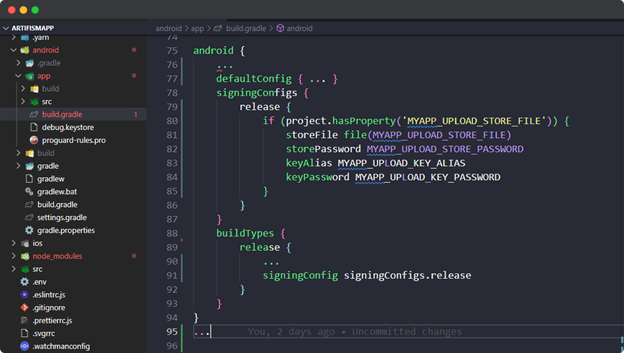
12. Adding signing config to your app’s gradle config
The last configuration step that needs to be done is to set up release builds to be signed using the upload key. Edit the file android/app/build.gradle in your project folder, and add the signing config,
13. Generating the Release APK
Open the terminal on the project folder & run the following command lines one by one
yarn prebuild
cd android
./gradlew assembleRelease -x bundleReleaseJsAndAssets
- Find the APK at:
\android\app\build\outputs\apk\release\app-release.apk.
Before uploading the application change the application name “app-release.aab” to “yourProjectName.aab” like Artifism.aab.
- Clean Gradle files after release: ./gradlew clean
Generate Release (APK/AAB) using Android Studio
Set Up Your Android Production Environment
To properly set up Android Studio follow the guidelines. (This application uses React Native Cli)
Let’s go generate a Release APK using Android Studio
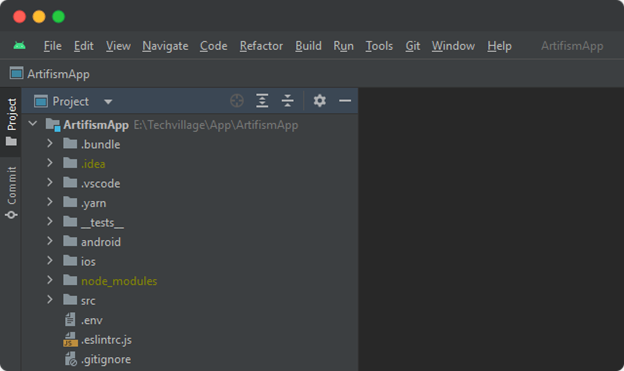
- Open Android Studio and select your project
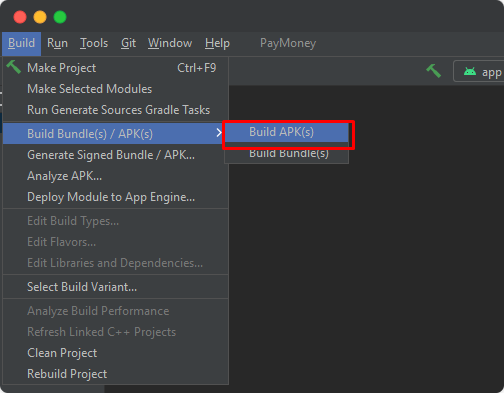
- Select
Build > Build Bundle(s) / APK(s) > Build APK(s).
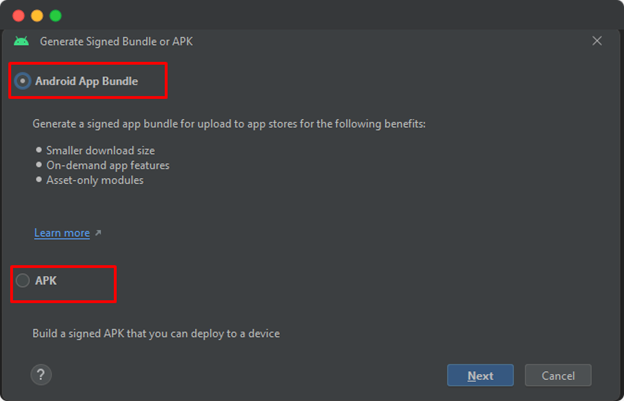
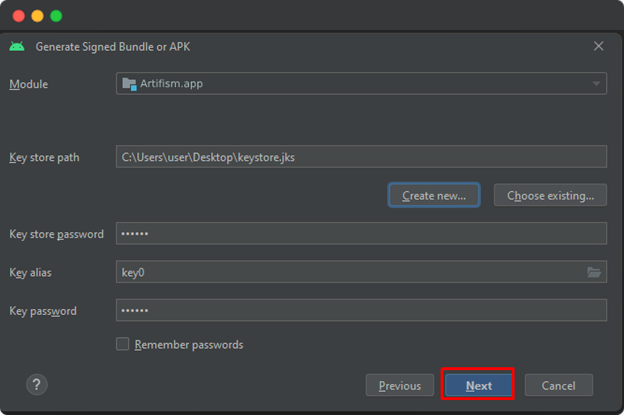
- Select APK to generate a release APK or select Android App Bundle (AAB) to generate a release AAB (Play Store) for your React Native Android project. Then, click on Next
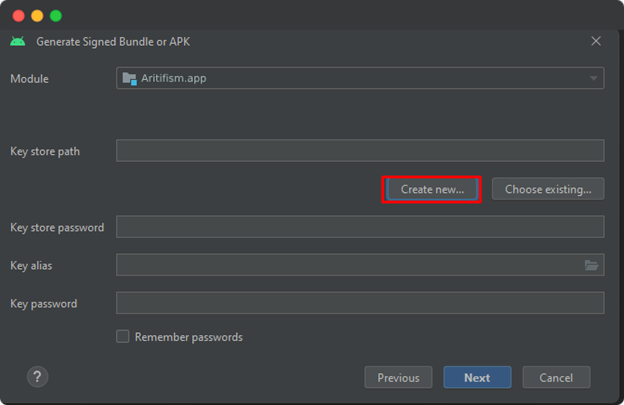
- Under the key store path click Create new…
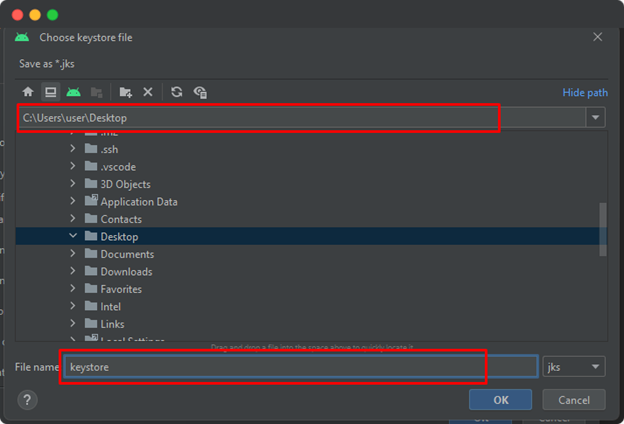
- Pick a path like C:\Users\user\Desktop
-Select passwords for the keystore and key then return the certificate information.
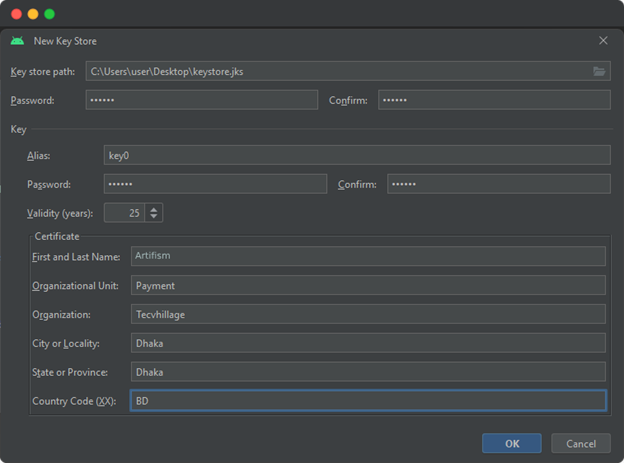
- Please securely store your keystore file, keystore password, and alias password for future version updates. Click Next button
- Thus, click on Ok, then click on Next. Select release or debug and click Create
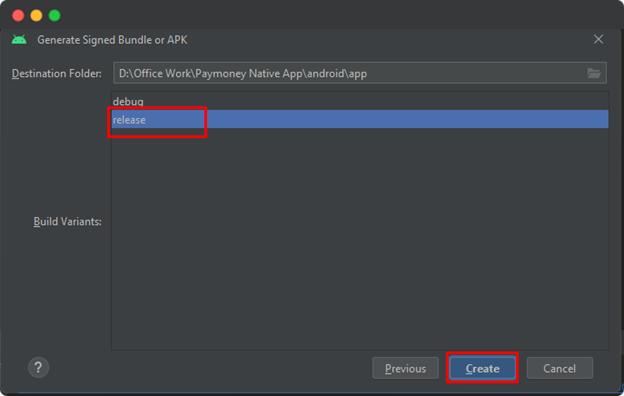
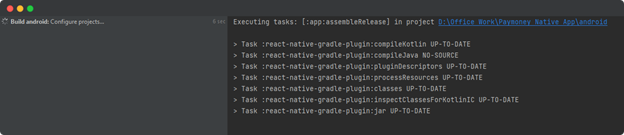
- After finish build
projectFolder\android\app\release\app-release.apk
For additional details, refer to the official (React Native Documentation)