AI Preference
Go to AI Preferences from the sidebar. There are four sections - OpenAI Setup, and Bad Words.
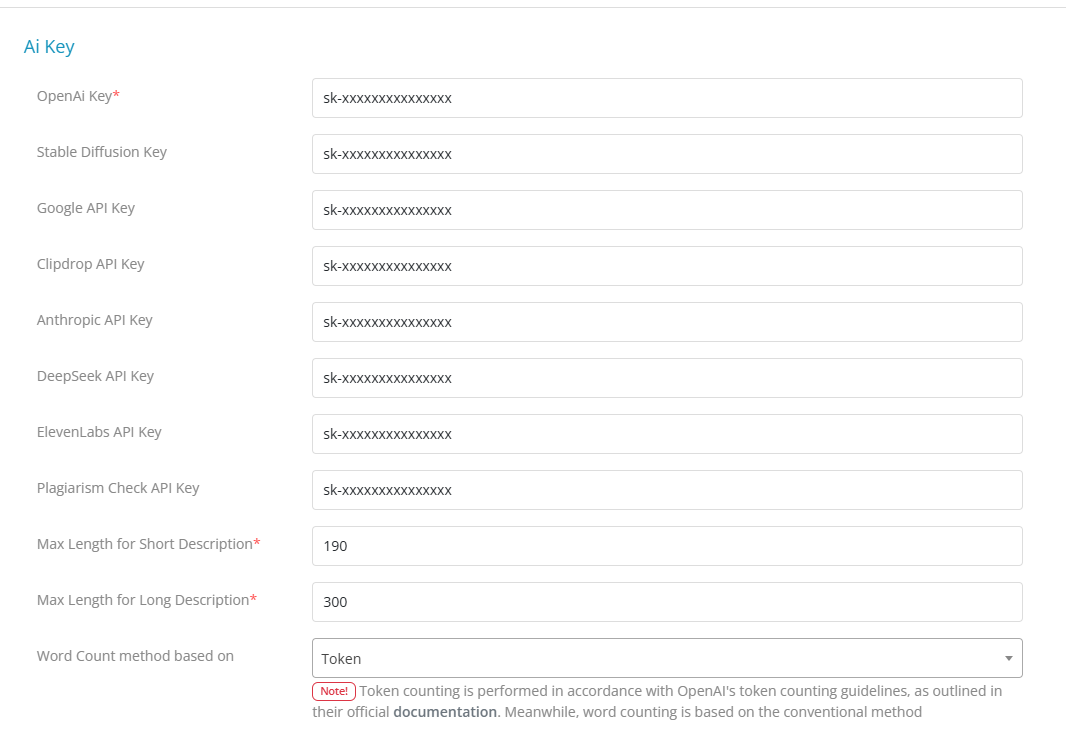
AI Setup
Go to OpenAI Setup, any change in this form will be applied on the whole system. You need to provide the API keys for all the providers here. Click on save to save the changes after making the necessary changes.
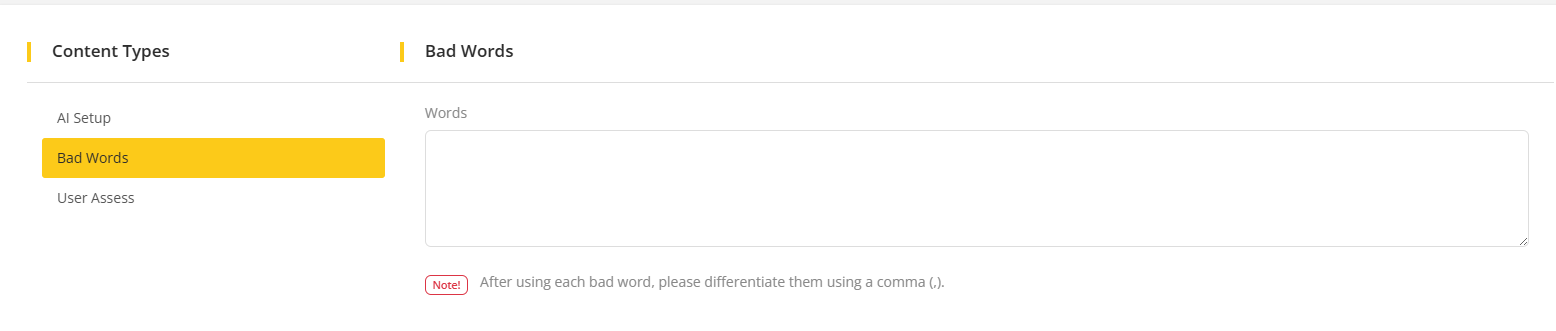
Bad Words
This feature works with Artifism’s default feature and allows them to avoid mentioning bad words from the generated content. To access this feature go to Artifism’s admin panel ⇒ Configurations ⇒ AI Preferences. After that, Click on the Bad Words tab to get the bad words page. Once the admin adds bad words, theses words will not come on the response and if the prompt has these words then these words will not be sent to the provider through the API.
Here you can add bad words as your choice and differentiate them using a comma (,) after each word. These words are not case sensitive and you need to add accurate and relevant bad words for use. After making all changes click on Save button to save your changes.